
Mat Mounting Instructions
Setting up your Slipp-Nott® traction set is easy with these 10 quick steps:
Step-by-Step Instructions
Step 1.
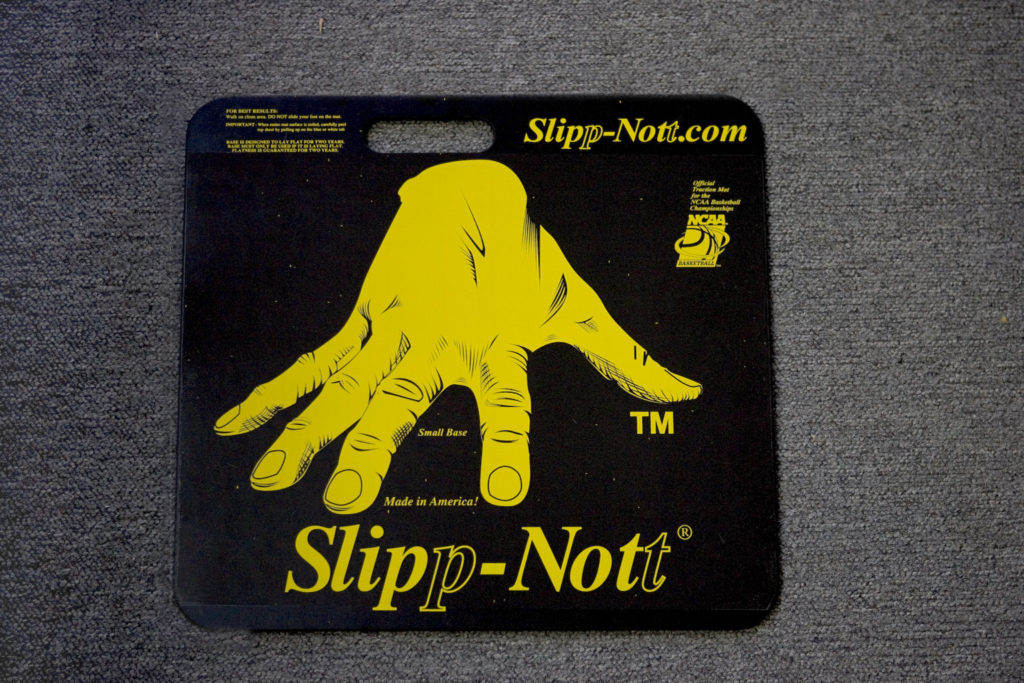
Place the base with the ribbed rubber facing down (making contact with the desktop or the floor)

Step 2.
Now take the mat and place it on top of the base. Orient the mat so that you can read the “Slipp-Nott.com” logo (or orange Trac Mate logo for those with a Trac Mate mat).
Depending on the mat, the tabs may be on the left or the right side. Make a mental note of the position on the base by remembering how far the location of bottom edge and one of the sides are from the edge of the base. This is where you will try to mount the mat.
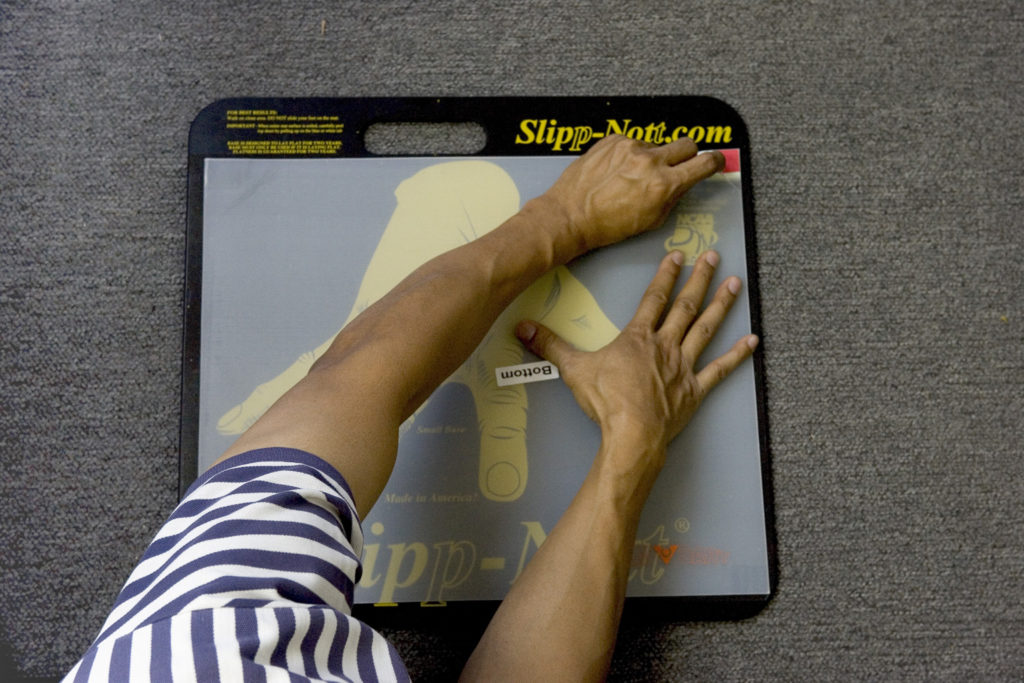
Step 3.
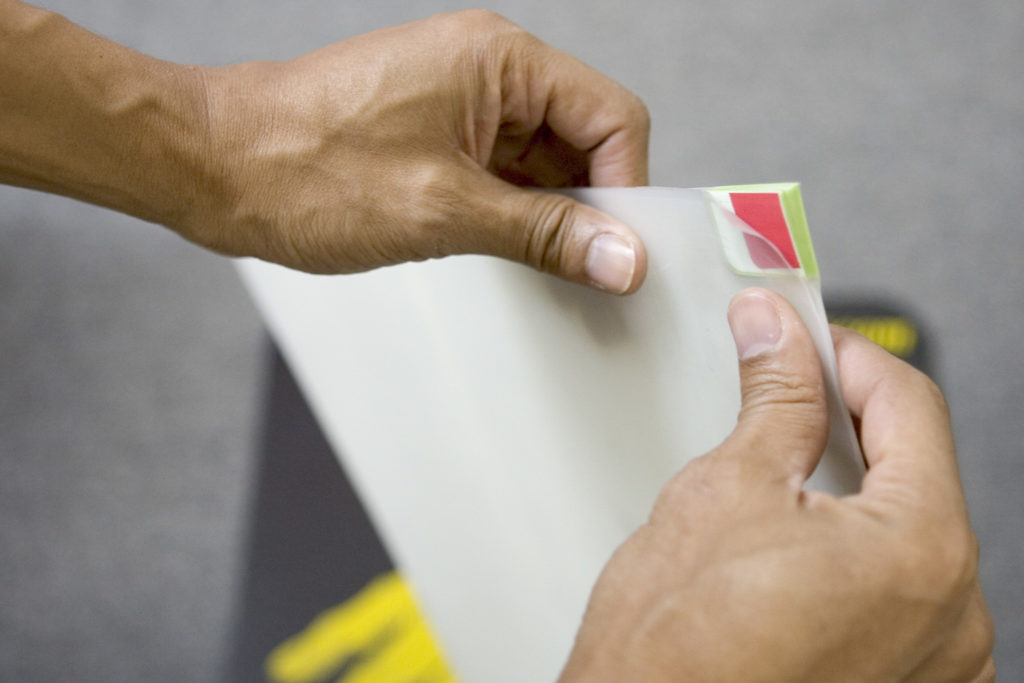
With the mat in your hands take a close look at just the tabs. The bottom of the mat has a little red tab. The bottom sheet has no tab and is textured for easier removal.
Step 4.
Flip the mat upside down so that the bottom sheet is facing up. You should be able to see a red tab.
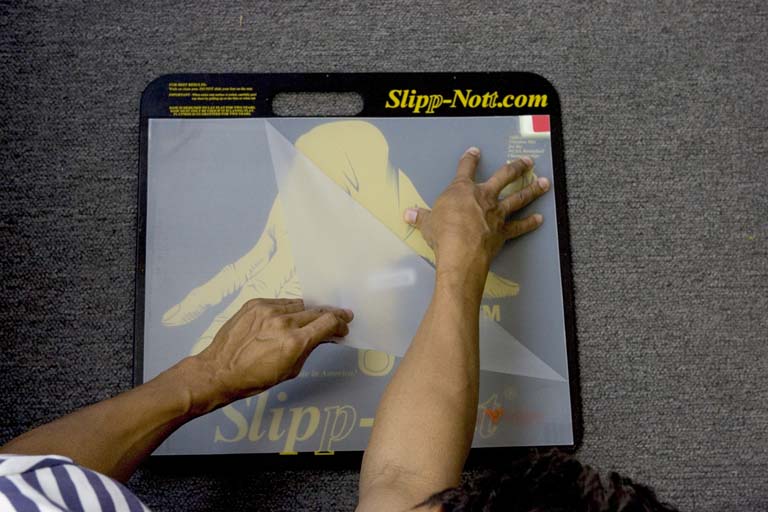
Step 5.
If the mat is upside down, the textured sheet is now on top. Now carefully start to peel the textured sheet MAKING SURE NOT TO REMOVE THE SHEET WITH THE RED TAB.
If you see the red tab coming off STOP, press it back down and start over removing only the textured sheet.
Step 6.
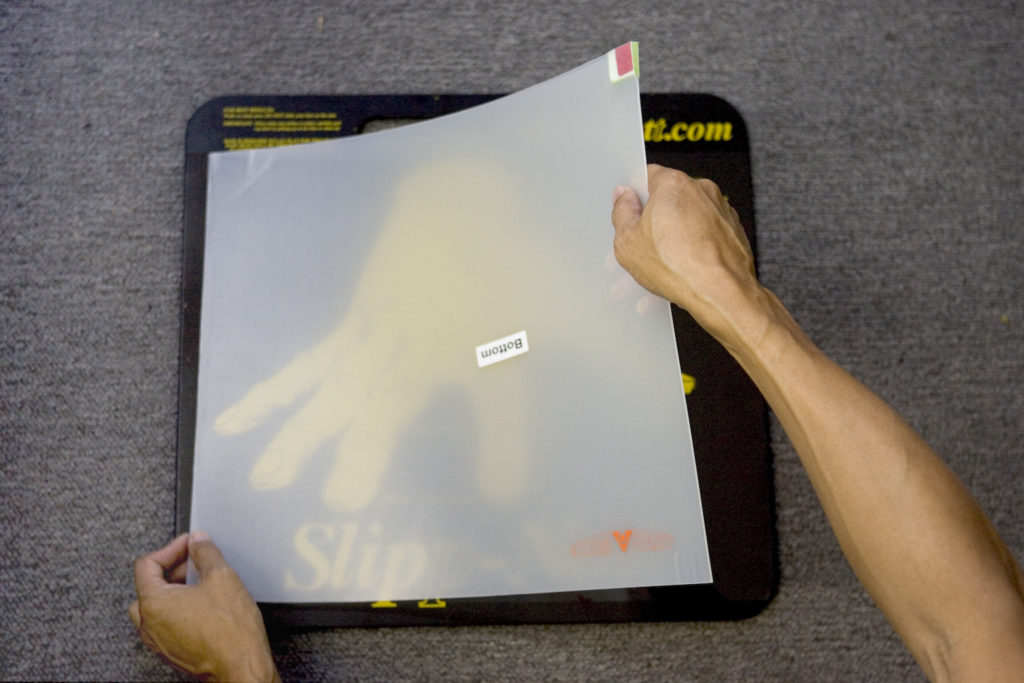
Continue peeling off the textured sheet.
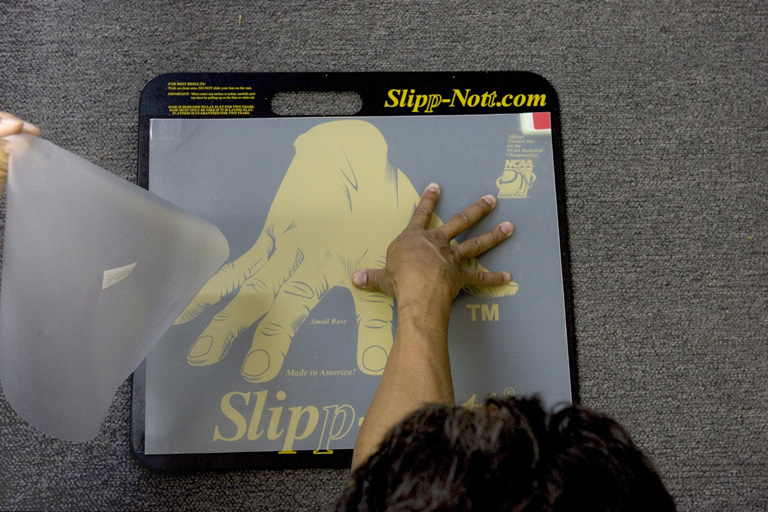
Step 7.
Remove and discard this sheet. If you have a plastic recycling program, you can recycle it. The sheet is made of polyethylene.
Step 8.
You are now ready to mount the mat to the base. Recall the location of the mat from the second step and carefully adhere the left edge while holding the rest of the mat up in the air with your other hand.
Take care to align the edge of the mat parallel to the edge of the base. Reposition if necessary.
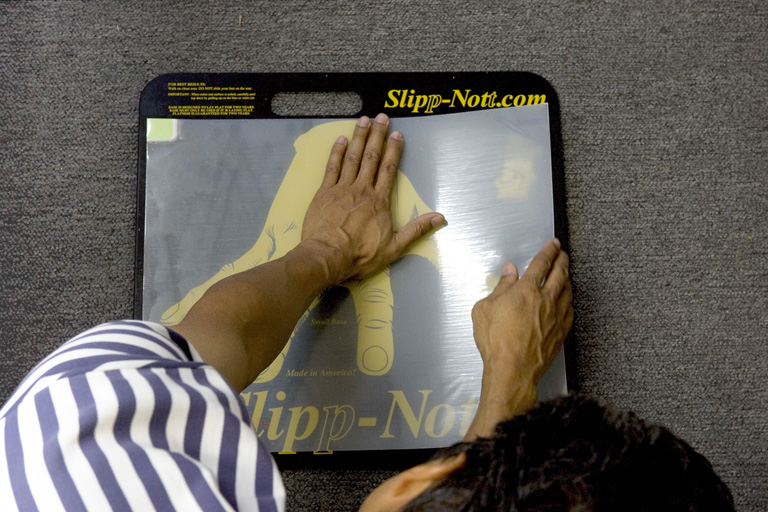
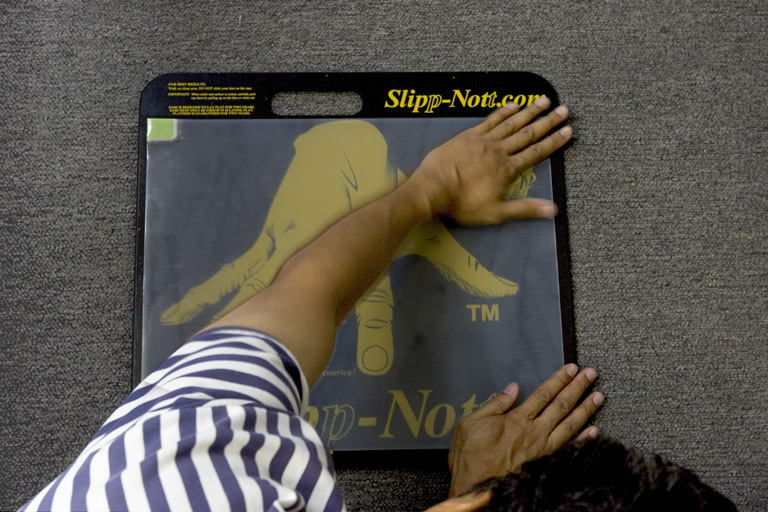
Step 9.
Starting from the edge you just adhered, carefully lower the mat as you press mat with up and down strokes toward the opposite edge. Mounting it from one edge to the other helps to reduce air bubbles.
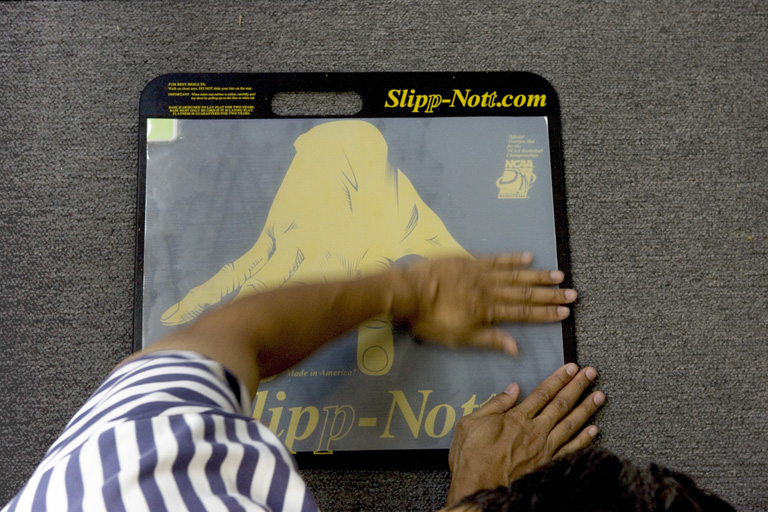
Step 10.
This step should be obvious – continue.
All finished! Now simply remove the top protective sheet when you are ready to use it.
Always remember to store your extra mats flat and out of direct sunlight. See mat storage tips for more info.
LM60 and SM60 mats have alternately colored blue and white tabs. Our 30-sheet mats have black and white tabs.